Sunday, 4 September 2016

Using the Nikon R1C1 Close-up Speedlight Commander Kit


A few months ago I was fortunate to pick up a second hand Nikon R1C1 Close-up Speedlight Commander Kit from Harrison Camera. I’d always wanted this kit for macro work but the price at £550+ is prohibitive.  However buying second hand brought the kit within my budget.

The kit comes complete in a carry case and contains;

2 x SB200 speedlights
1 x SU800 Speedlight commander
1 x Selection of adapter rings.
1 x Holder

Plus a selection of accessories.


The beauty of the R1C1 system is that it can be as simple or as complex as the user wants to make it.

For the purpose of this blog post I used the system in its simplest configuration as follows.
A suitable adapter ring was selected from the kit and attached to my 105mm f2.8 macro lens.

The SX-1 attachment ring was attached to the adapter and the two SB200 speedlights were attached to the attachment ring in a 9 o’clock 3 o’clock configuration.

The SU800 was placed in the hot shoe of my D800 and set to TTL. The SB200’s were switched on with one set to Ch1 Group A and the other set to Ch1 Group B.

In this configuration the camera looks after the exposure whilst the controls on the SU800 allows for the ratio between the two SB200’s to be adjusted by the simple press of a button. 

I’d got a few bedding plants in bloom in the garden so I decided that these would be good as a subject to try out the system. 

I set up my D800 on a tripod with my Nikon 105mm f2.8 macro lens. Although this lens is equipped with Virbration Reduction (VR) I knew from past exxperience that it is almost impossible to take sharp macro images using the camera hand held especiall when the R1C1 is fastnened to the front of the lens. 

Nikon D800 equipped with the R1C1 Close-Up flash system    
 
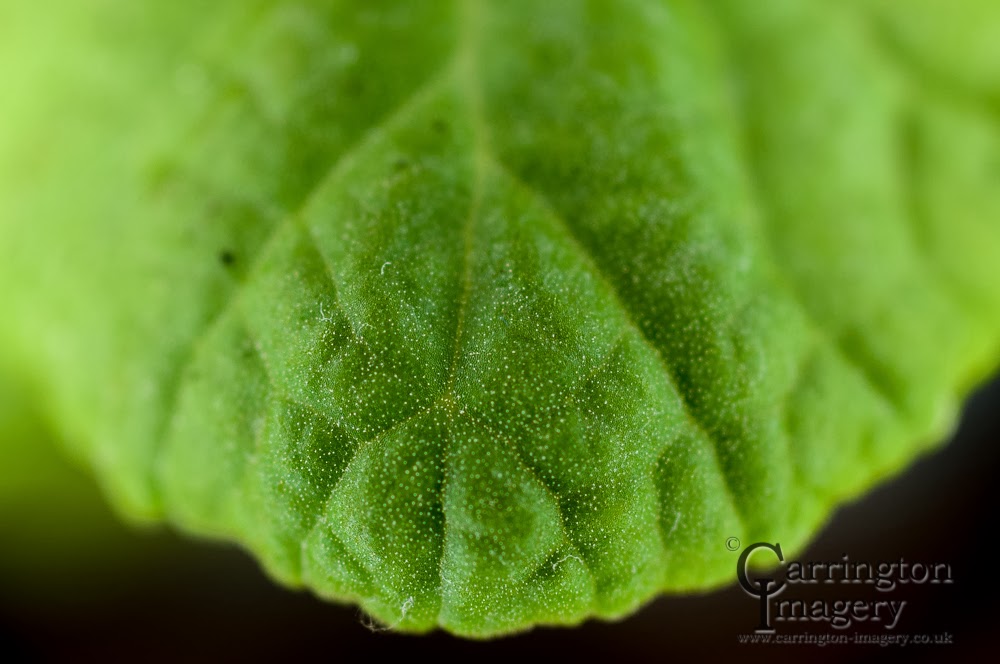
 As I was using flash in TTL mode and the camera was on a solid tripod I knew I would be able to use a small aperture to gain a reasonable depth of field. I set the lens to f20 and the shutter speed to 1/200th sec. Using a cable release I took the images below. 


All in all I was extremely pleased with the performance of the entire system especially the way in which the individual speedlights could be controlled to either emilinate or introduce shadows. 

I'm looking forward to trying more macro photography as I get more involved with the R1C1 set up.


Monday, 22 August 2016

Shooting Through Stone


 Hi All,
Some years ago, during a visit to Tintagel, my son Ben picked up a sliver of polished stone which was on the path leading to the castle. The stone was quite small in size (approximately 1” wide and 2.5” long).

That piece of stone has lived with us for the last 10 years, sitting on the lounge windowsill occasionally getting dusted. In all that time I’d never noticed that the stone was actually transparent until one particular afternoon when the sun hit it and I was in a position to see a beautiful blue colour through its centre.

Now having seen the colour through the stone, how was I going to create photograph that would bring out the best of the colour?

Initially I thought I’d try to shoot it against the window with the natural light of the sun. I set up the camera and balanced the stone with a piece of blu-tack but I found I couldn’t control the light sufficiently to get a satisfactory image.  

Next my thoughts turned to using a strobe. At least with a strobe I can control the power either directly on the unit itself or remotely. I have a few different triggers available so I decided this was the way to go. 

I decided that I would use the strobe to illuminate the stone from beneath, mount the camera on the tripod using the 90 degree boom so that it was looking directly down on to the stone. The only problem I could foresee was how to stop the excess light from the strobe entering the lens. 

I resolved this by using a piece of A4 black card. I traced the outline of the stone onto the card with pencil then using a sharp craft knife I carefully cut the shape making sure I remained inboard of the lines ensuring that no direct strobe light would reach the sensor.
The final set up comprised a piece of A4 sized clear Perspex clamped to the dining room table. The black card was placed onto the Perspex and the stone placed flat on to the card over the cut-out.  


My SB-910 speed light was placed on top of a small box under the Perspex and positioned directly under the cut-out. The speed light was set to iTTL remote and a Nikon SU800 commander used to trigger it.

The first exposure was made using a flash set at ½ power which resulted in a very over exposed image with little or no detail in the stone. Four subsequent exposures were made decreasing the power of the flash until I achieved an exposure I was happy with. The final settings were 1 second @ f22 


Next time we're shooting macro shots of bedding plants with the Nikon R1C1 wireless close-up flash system.

Wednesday, 6 July 2016

Norbury Church in HDR

Hi All,

I've finally managed to get back out and about with my camera again.

This time I decided to visit The Old Manor House at Norbury near Ashbourne. This is a beautiful National Trust property. 

The Old Manor House
During my visit I took several photographs but at the time there was no access to the inside of the house which was disappointing. However in the grounds of the house was a fabulous church which was open to the public. 

 
Norbury Church
I wandered around the church looking for a shot and finally settled on a shot looking towards the alter taking in the stunning stained glass windows on either side and at the end. As you would expect it was incredibly dark inside the church depsite a few lights burning. Luckily I had bought my tripod with me so it was an ideal situation to shoot for HDR. 

The beaurty of HDR images is that they can capture all of the detail in the shadows and the highlights by combining three or more images taken at different exposures. For my HDR's I always use three images spaced 1 stop apart. To do this I take an initial exposure from which I decide where my starting point is going to be. Then I use the bracketing function to take three images. The first is at the correct exposure. Then I shoot 1 stop over exposed and 1 stop under exposed. (See Below).


1 Stop Under

Just Right

1 Stop Over

As you can see, the images above progress from too dark to too light. These are ideal to combine together to make an HDR image. There is no hard and fast rule for the spacing. Some photogbraphers combine many images 7,8,9 spaced 1, 2, or even 3 stops apart. Ultimately you have to do what's best for you. In my case it's 3 spaced at 1 stop.

Once I had got the images into to PC I then used a piece of software called Photomatix Essentials 4.0 to combine the images and edit them into an HDR image that suits me. 

The Final Image
As you can see the final combined HDR has detail in both the shadows and the highlights and brings out the quality of the spectacular stained glass windows. HDR's a great fun to create but it is incredibly easy to go too far and create an unreal and false looking image, However if that's the look you're going for then more power to you !!

On the next blog we're going to be shooting through stone.

Monday, 16 March 2015

Rowditch Restore

Hi All,

Apologies for the lack of posts in recent months. Sadly the back end of 2014 was particularly bad for me and as a result I had to curtail my blogging activities.  However I'm back in 2015 and hopefully this will be the first of many posts throughout this year. 

I recently had cause to collect together all of the family photographs from my mums house. There were lots of pictures but one particular on caught my eye. 

This is an image of my father at his place of work in Abbey Street in Derby. The company was called Rowditch Engineering and this, as far as I'm aware, is the only image of the engineering staff at the time. I'm not sure of the year but looking at my Dad (he's the one with the glasses 2nd from the right) it must have been around 1950.

Members of Rowditch Engineering circa 1950

As you can see, someone somewhere along the line has folded the picture in two causing it to be creased. I decided that this would be a good image to attempt some sort of photo restoration.

Bringing the image into Photoshop CS6 I began work. I used the Close Stamp tool and the spot healing brush over two separate layers to achieve the final result. I have to say the the Clone Stamp tool was the more useful of the two in this case.

Anyway this is the end result shown here with the clone and healing layers in CS6. 

All in all I'm pretty pleased with it.

Members of Rowditch Engineering final result 

Wednesday, 23 April 2014

Using a Variable Neutral Density Filter

Hi All,

In recent months I've really wanted to try some photography using a variable neutral density filter. I've read a lot about them in magazines but never actually purchased one even though I like the effect they give especially when photographing water. 

Finally I decided to purchase the Dorr 77mm ND4 - 400 from Harrison Cameras in Sheffield. 

The filter is nicely made and comes complete with a lens cap to fit over the filter and a carry case. The price was pretty reasonable too.

The Dorr 77mm Variable Neutral Density Filter

The next thing I needed was some form of running water. I'd heard of Lumsdale Falls near Matlock in Derbyshire but I'd never visited even though it's on my doorstep. 

On Friday  18th of April (Good Friday) I woke up to a beautiful day and this was too good an opportunity to miss. I packed the gear in the car and headed for Matlock. 

The Falls are about 1/4 of a mile from the school car park on Lumsdale Road so it wasn't too far to trek carrying my bag and tripod. 

Having never used a variable filter I realised there would be some degree of experimentation to do to find the right settings that would give me the type of shot I wanted. The filter gives up to 8 stops of variation which can result in a dramatic reduction in the amount of light entering the lens and consequently a dramatic lengthening of shutter speed. 

I took an initial shot of the falls without using the filter for reference. 

1/80th @ f4.0
I now set up the camera on a tripod and attached my cable release as I knew I was going to be trying some very long shutter speeds. I wanted a fairly low angle shot so that I could capture some foreground details. 

D300s, Nikon 24mm-120mm f4.0 with filter attached
I experimented with a few different speeds, apertures and filter settings. At one point I had the camera set at 30 seconds on f22 with the filter fully adjusted and although the image was correctly exposed it made the water almost too silky. 

In the end I settled for 5 seconds @ f16 with the filter set at 4 stops. This give me the images below.

5 seconds @ f16 with 4 stops of filter

5 seconds @ f16 with 4 stops of filter
For me this was the correct setting as it gave me the shots I was looking for. The water is smooth without being too silky. As always, beauty is in the eye of the beholder and these may not appeal to everyone but for me they were spot on.

Give a variable neutral density filter a try. it's money well spent in my opinion .

If you'd like to see the other images taken at Lumsdale Falls then check them out on my website. 


Saturday, 18 January 2014

Using the Nissin MF-18 Macro Flash

Hi All,

Long time no blog ! Apologies for that. Unfortunately work and home take priority especially over the Christmas period. 

For a while I've been looking for a macro flash unit. Sadly the pukka Nikon is over £500 and is somewhat prohibitive especially as I don't do a lot of macro work.

Whilst browsing the webpages of Harrison Cameras over in Sheffield I came across the Nissin MF-18 unit. The thing that struck me immediately was that it was a Nikon compatible flash with the ability to run in TTL and, when required, act as a master control with the Nikon CCS system.

I decided to purchase one at £230 and finally, now that the Christmas festivities are over, I've managed to start using it. This blog entry is my initial tests and thoughts. 

The unit comes in a very nice case making everything accessible. 


As can be seen from this image the unit comes with several adaptor rings to fit various lenses plus the control unit and flash head.

I only have one macro lens and that it the Sigma f2.8 


This lens has served me well in the past but unfortunately comes with a 55mm filter thread which is one of the (Optional extra) sizes that don't come with the Nissin. However an inexpensive 'step-up' ring soon got past that little issue.

I purchased a small plant from a local garden centre for 50p (A posy I believe) and decided to make that the first victim of the Nissin.

I set the flash unit on my Nikon D300s and mounted that on my Manfrotto tripod. 


I carefully set up the little plant in front of the camera and flash unit. 


Setting the camera to Aperture Priority I selected an aperture of f11 and the camera automatically set the shutter speed to 1/60". Shooting in RAW I set the MF-18 to AUTO setting. This means that the camera controls the exposure but no additional compensation or alteration can be performed. 

At this setting I took the first image, As you can see below the image came out a little darker than I was expecting.


As I usually shoot a 'to the left' i.e. slightly under exposed this wasn't really a worry although I would have liked it a little lighter. As I was using a 50mm macro lens the subject has to be very close to the lens and I think that caused the flash to close down a little sooner than it needed to.
However a few seconds in light room  and the problem is immediately eliminated.


The next setting to try was the TTL mode. This is similar to the auto mode except that both positive and negative EV compensation can be performed and also either side of the flash head con be independently controlled in stages allowing additional control of the light. As with the AUTO setting the initial exposure was underexposed. 


However using the same exposure settings but adding a plus 2 EV compensation gave completely different and altogether more pleasing results.


Having found a flash setting I liked I decided to experiment with the different setting by switching the different sides of the flash head off. First the left hand side off then the right hand side off.


Once I'd finished trying the different TTL setting I started taking different views of the plant to see what I could get. The images below have been corrected in Lightroom and cropped where necessary but no additional filters or software has been used.  

Full Single Flower

Centre of the Flower

Petals

All Flowers

Leaf Tip

Leaf Body

Twin Flowers

The MF-18 Flash unit has several more modes including 'MANUAL', 'FINE MACRO' and 'COMMANDER' mode. Hopefully I'll get the time to try these out and post the results in due course. 

See you soon.